
Help Center
Invoice Layout
An Invoice Layout in Posnets determines the design and format of invoices generated for a specific location. If you want a unique invoice layout for a location, it's important to create it before adding the location. Here's how to manage invoice layouts:
1. Why Use Different Invoice Layouts?
- Customization: Tailor invoices to reflect the branding and requirements of each business location.
- Consistency: Ensure invoices meet specific legal or regional formatting standards.
- Identification: Distinguish invoices from different locations visually.
2. Creating a New Invoice Layout

- Navigate to Settings in the main menu.
- Select Invoice Layouts and click on Add Invoice Layout.
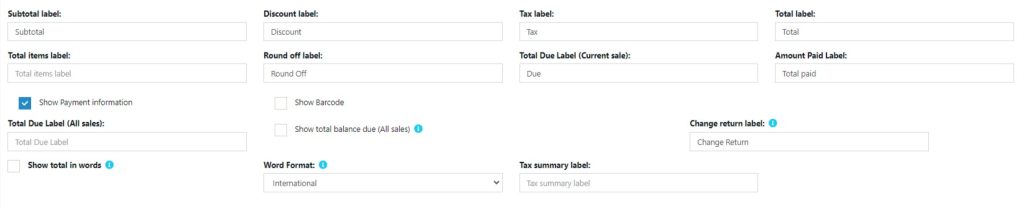
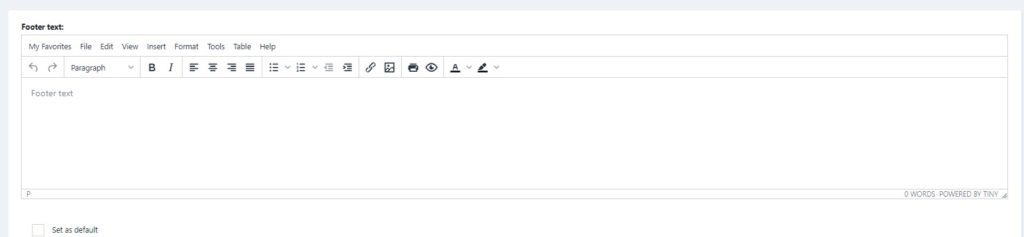
- Customize the layout by editing:
- Header: Add business logo, name, and address.
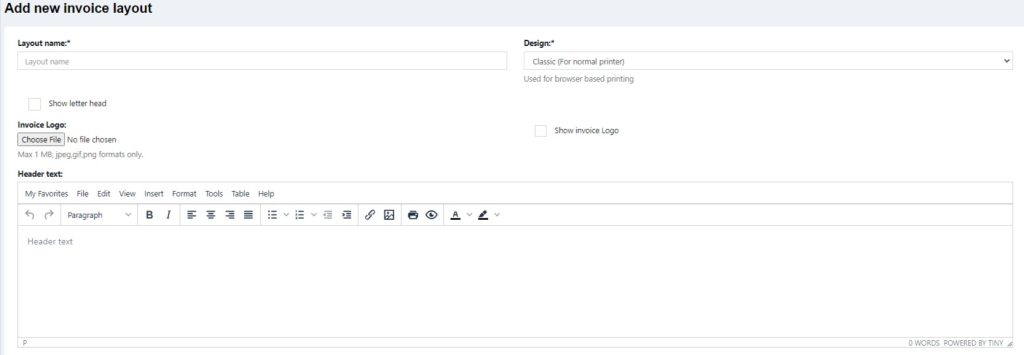
- Body: Include itemized details, tax breakdowns, and additional information.

- Footer: Add terms, conditions, or other notes.
- Save the layout.
3. Assigning Invoice Layouts to Locations
- Go to Business Locations in the settings menu.
- Select the location you want to customize and click Edit.
- Assign the appropriate invoice layout from the dropdown menu.
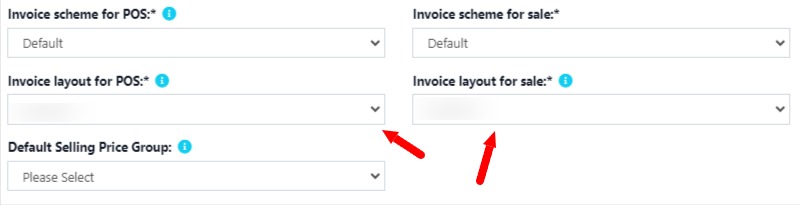
- Save the changes.
4. Tips for Creating Invoice Layouts
- Branding: Use consistent logos and colors to match your brand identity.
- Legal Compliance: Ensure layouts meet local invoicing requirements (e.g., tax details, business ID).
- Test Before Use: Generate a sample invoice to verify that the layout appears as intended.
By setting up unique invoice layouts for each location in Posnets, you can maintain a professional and organized approach to invoicing while meeting the specific needs of your business.